

Have you ever thought that a few simple tips could bring your old gadget back to life? Fixing tech might seem tricky at first, but a clear, step-by-step plan can really save you time and worry.
Imagine putting together your favorite puzzle. Every handy tip nudges you closer to solving that pesky glitch. Soon, your device gets the care it deserves, and you enjoy the satisfaction of a smooth repair every time.
tech gadget repair tips: Spark Your Success
When you have a clear plan, your repair work becomes a lot smoother. Taking things one step at a time saves you from wasting time and effort. Instead of guessing your way through a tricky problem, you know exactly what to do next. Imagine fixing a slow device by first clearing out junk files, then moving on to more detailed fixes.
Following a simple, clear plan also stops you from causing new issues. You know exactly which tools you need, like a screwdriver, some tweezers, and a spudger, and you follow a tried-and-true repair method. This way, you protect fragile parts and avoid spending extra time or money.
- Assess the device's condition and its age
- Get your diagnostic software and physical tools ready
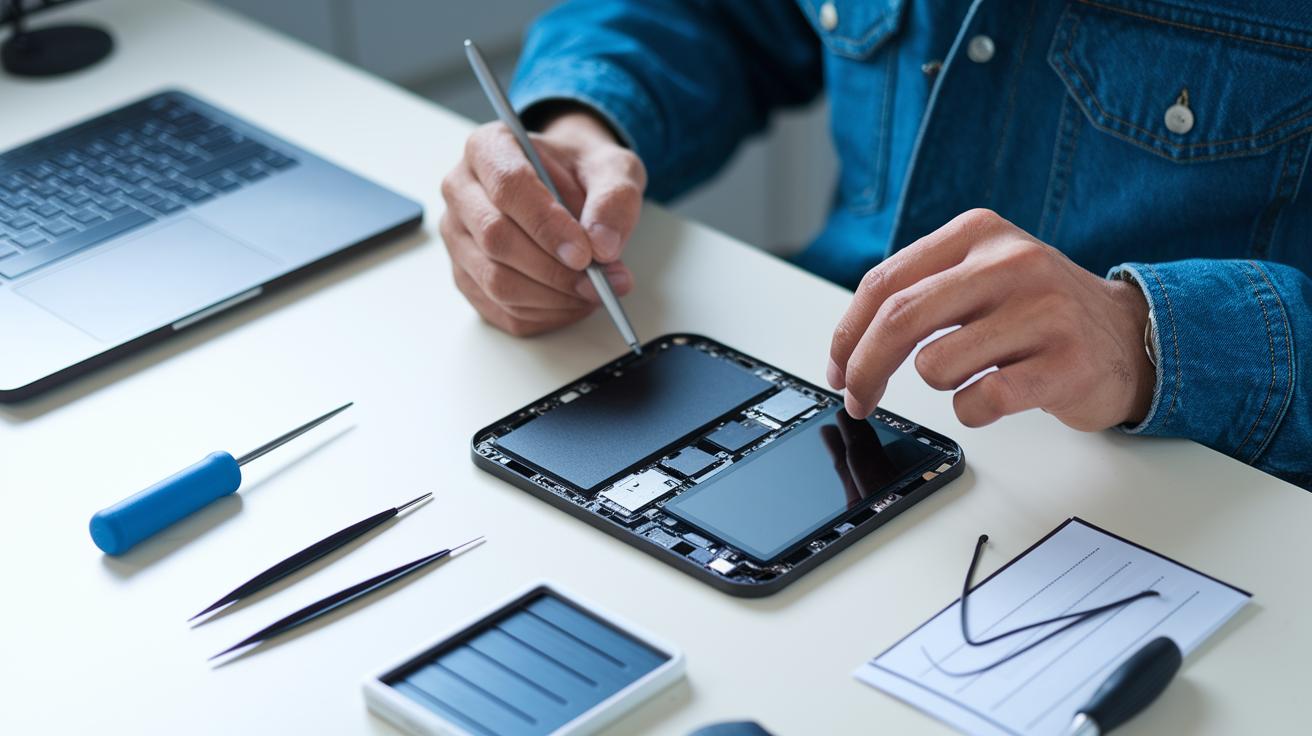
- Disassemble the device following the manufacturer’s guide
- Check and replace any faulty parts
- Put everything back together and run tests
There are times when you might need extra help. If the damage is too big, like major battery wear or serious hardware problems that go beyond a cracked screen, it's best to call in a professional. Similarly, if your tests show unusual heat or signal issues that might get worse, consider reaching out to an expert. And if you find it tough to get hold of the right parts or if your gadget is already close to its typical three- to five-year lifespan, you might want to think about professional repair or even replacing the device. Paying attention to these warning signs keeps your repair work safe and saves you from future headaches.
Tech Gadget Troubleshooting Tips for Common Fault Isolation
Before you start swapping out parts, it's important to figure out what’s really going wrong. When your device’s camera stops working, you hear odd noises from the hard drive, or it suddenly shuts down, it helps to decide if the trouble is coming from the hardware or the software. This friendly step-by-step process lets you pinpoint the issue so you can fix it quicker and with less hassle.
Try these steps:
- Use the built-in diagnostic apps
- See if there are any pending software updates
- Take a look at external connectors and clean off any debris
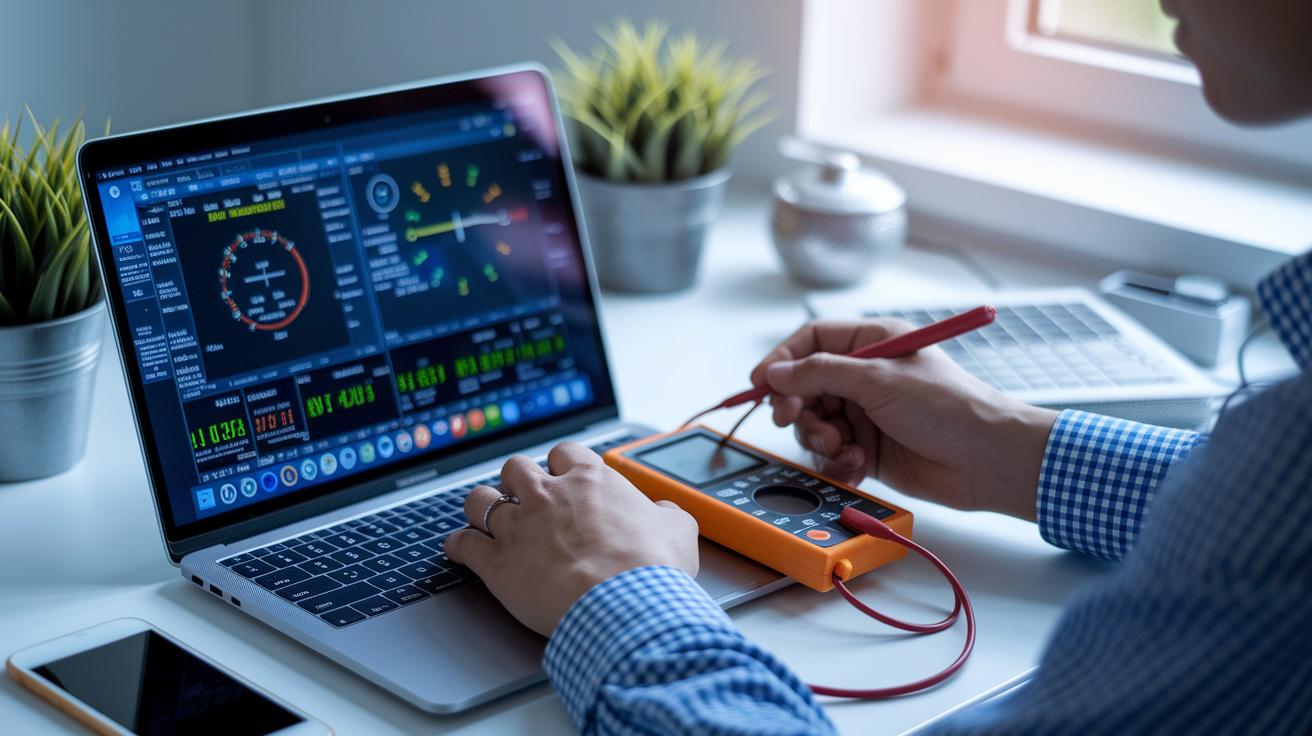
- Check the voltage with a multimeter
- Swap out any parts that seem suspect (like the battery or storage)
- Do a factory reset if software problems continue
Next, it’s all about understanding what the tests tell you. For example, if the diagnostics give error codes about a failing battery or the multimeter shows a low voltage, that’s a clear sign something in the hardware is off. But if a factory reset and a firmware update make the device run smoother, then it was probably just a software glitch. With these troubleshooting techniques, you can decide whether to dig deeper into the hardware or focus on the software settings. Each test you run brings you a step closer to making a smart decision about whether to replace parts or adjust settings.
Tech Gadget Repair Tips: Essential Tool Kit and Table Overview
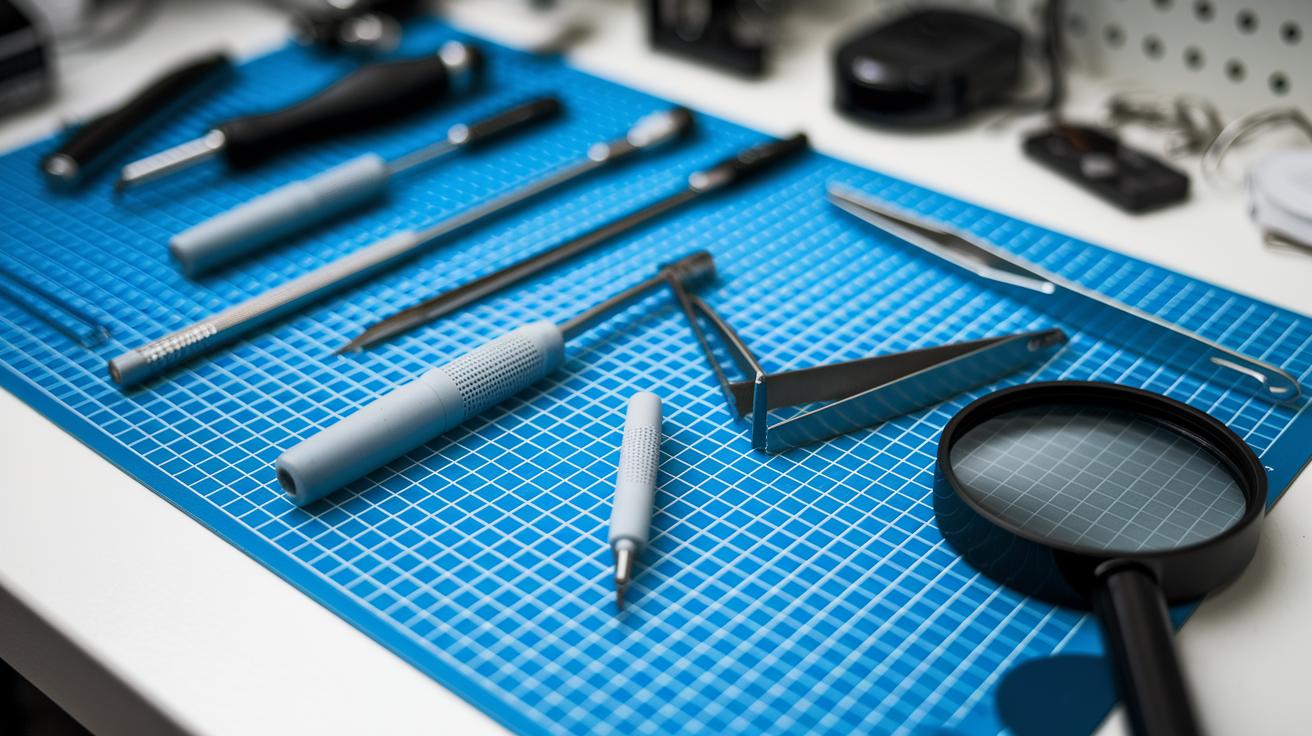
When it comes to fixing your favorite gadgets, having the right tools makes all the difference. Using quality tools like Phillips and flathead precision screwdrivers, plastic spudgers, tweezers, and a magnifier lens means you can work carefully without the worry of damaging tiny parts. And don’t forget an ESD mat, it helps keep static electricity from harming sensitive electronics. With the right gear and protection, your repair work stays safe and you avoid costly mistakes.
| Tool | Primary Use | Approx. Cost |
|---|---|---|
| Precision Screwdrivers | Removing screws | $5–$10 |
| Plastic Spudger | Safe prying | $3–$7 |
| Tweezers | Handling small parts | $4–$8 |
| ESD Mat | Static protection | $10–$20 |
| Magnifier Lens | Close inspection | $5–$10 |
It really pays to stick with trusted brands. Reputable vendors that focus on ESD safety and long-lasting products help ensure your tools go the distance. If you’re up for advanced repairs, consider adding extras like a temperature-controlled soldering iron or a digital multimeter. These smart choices can boost your repair game, making the whole process smoother and more secure.
Maintenance and Cleaning Protocols for Lasting Tech Gadget Repair Tips

Keeping your devices clean is key to making sure they run smoothly. Dust can block vents and harm delicate ports, and even a tiny bit of static can mess with sensitive parts. A quick wipe-down with a soft, lint-free cloth dipped in 70% isopropyl alcohol goes a long way. A little care now can prevent a lot of hassle later.
Regular cleaning also means fewer chances of debris affecting performance. To add extra safety, try using an anti-static wrist strap and work on a grounded surface. This simple routine makes your repair work stress-free and helps your tech last longer.
| Step | Action |
|---|---|
| 1 | Turn off and unplug your device |
| 2 | Wear an ESD strap to ground yourself |
| 3 | Carefully clean vents, ports, and edges |
| 4 | Wipe down the touchscreen and controls |
Setting aside time every 3 to 6 months for a cleaning check is a smart move. It keeps your gadget in top shape and lets you catch tiny issues before they turn into serious problems. Consistent maintenance means your tech stays efficient and ready when you need it.
Advanced Tech Gadget Repair Tips: Safety and Soldering Guidance
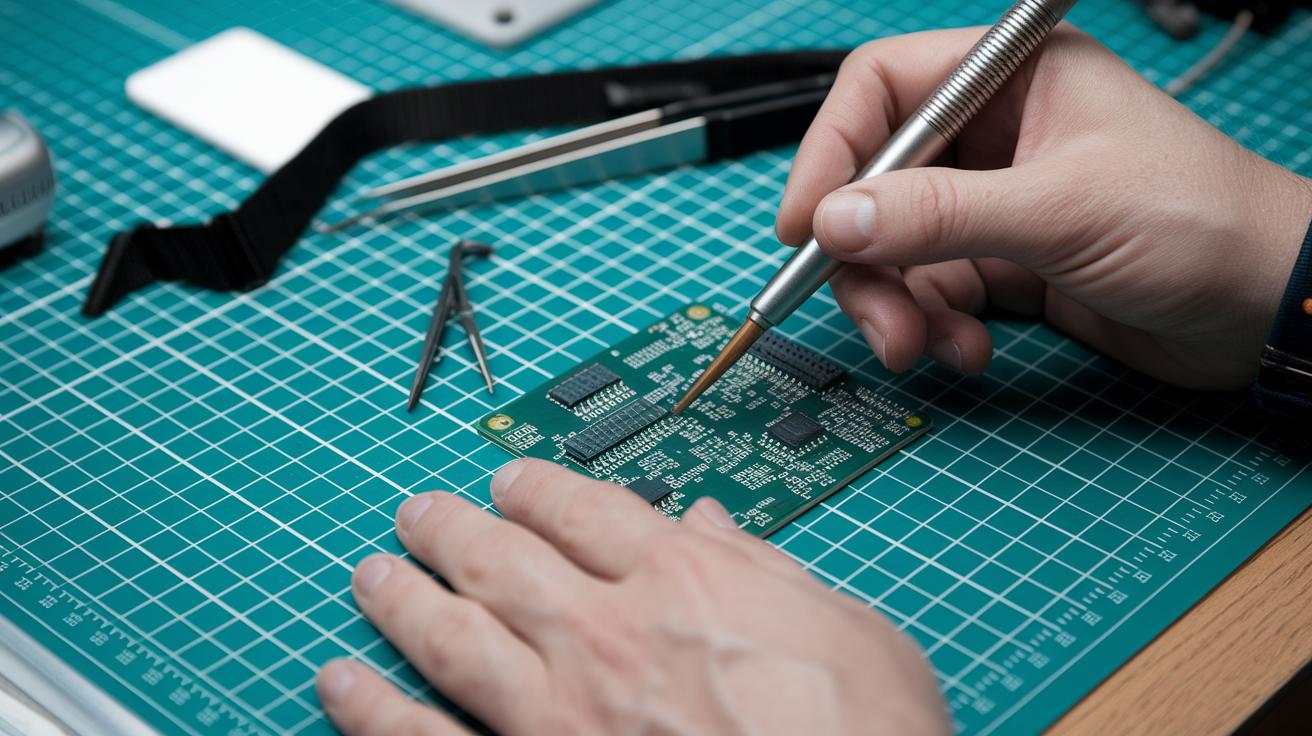
Working at the component level means facing risks that can affect your entire device. Even a small misstep with micro soldering on SMD components might damage sensitive circuitry. Always unplug the battery, discharge capacitors, and wear eye protection before you start. This extra caution helps you avoid short circuits and accidental burns while handling tiny parts.
Setting Up an ESD-Safe Workstation
Establishing a safe work environment is key to precise repairs. Lay out an anti-static mat on your workbench and attach your wrist strap securely to a grounded point. Keep your essential tools like the soldering iron, tweezers, and desoldering wick organized and within reach. Think of your workstation as a dedicated area where both you and your device remain protected from unwanted static discharge.
Micro Soldering Best Practices
When it comes to micro soldering, precision matters most. Set your soldering iron to around 350 °C and use a 0.5 mm lead-free solder for high-precision jobs. Regularly clean the iron tip to maintain good heat transfer and control the solder feed to avoid excess buildup. Align the pads carefully to create solid, reliable joints. Picture guiding a thin stream of solder directly to the intended spot, it’s all about control and a steady hand.
Once the soldering phase is over, conduct a thorough inspection using magnification tools. Check for smooth, well-formed solder joints and remove any remaining flux residue with isopropyl alcohol and a soft brush. This detailed post-soldering examination helps catch any potential issues early, ensuring that the repairs render your device fully functional and safe for everyday use.
Budget-Friendly DIY Device Restoration with Tech Gadget Repair Tips

When you're setting a budget for repairs, it's really about balancing cost and quality. You might save money by using affordable parts, but always keep an eye on reliability. Choosing inexpensive yet dependable components helps keep repair costs low while still ensuring your device works great. Often, various vendors offer parts that cost 30–60% less than brand-new ones, which is a big win if you're watching your expenses.
- Check out several part vendors
- Buy refurbished modules when you can
- Use open-source repair manuals for guidance
- Chat with local technicians to agree on labor costs
- Salvage usable components from donor devices
If your repair bill stays below half the price of a new gadget, you're not just saving money, you're also reducing waste and giving your device a longer life. Community forums are a treasure trove of free, step-by-step repair guides, making it easier to fix tricky issues without overspending. Local repair shops might also offer price matches or bundled deals that trim down overall costs.
Sometimes, you might realize that repairing just isn’t worth it. If even after finding the best parts your device still isn’t performing as expected, or repair costs start creeping up near the price of a new model, it might be time to consider a replacement. This way, you can strike the right balance between saving money now and enjoying durable, long-term value.
Final Words
In the action, this guide walked through essential steps, from evaluating your gadget to careful reassembly, troubleshooting, and cleaning routines. It highlighted key tech gadget repair tips, a handy tool kit, safety practices, and smart budgeting to help you handle repairs confidently.
The guide reminds you to work step by step, keeping your repairs safe and efficient. Enjoy the process, trust your skills, and have fun making your devices work like new!
FAQ
Q: What are some tech gadget repair tips on Reddit?
A: The tech gadget repair tips on Reddit involve community members sharing easy-to-follow DIY advice and practical steps for diagnosing and fixing your device issues safely.
Q: What are some of the best tech gadget repair tips?
A: The best tech gadget repair tips combine clear step-by-step instructions with the correct tools, helping you work confidently through disassembly, component testing, and reassembly of your gadgets.
Q: How do electronic repair services work at home?
A: The electronic repair service at home provides technicians who visit your location to diagnose and fix device issues directly, offering personalized service while you avoid the hassle of taking your gadget to a shop.
Q: How can I learn electronics repair online for free?
A: Learning electronics repair online for free is possible through numerous video tutorials, community forums, and open-access manuals that cover everything from basic fixes to more detailed troubleshooting methods.
Q: What is iFixit’s free repair manual?
A: The iFixit free repair manual is a comprehensive online guide featuring step-by-step repair instructions and visual aids, designed to help you confidently fix various devices on your own.
Q: How does iFixit assist with phone repair?
A: iFixit assists with phone repair by providing detailed guides and recommended tool lists that help you carefully address common phone issues from screen replacements to battery fixes.
Q: How does iFixit make money?
A: iFixit makes money by selling repair parts and accessories, along with offering premium content and advertising support that helps keep their free repair manuals available.
Q: What are key qualities of a good phone technician?
A: A good phone technician shows attention to detail, excellent troubleshooting skills, and clear communication, which are essential for handling delicate components and ensuring reliable repairs.
Q: Can you make a living repairing electronics?
A: Making a living repairing electronics is possible with skills, experience, and a good reputation among customers, as steady work comes from quality repairs and word-of-mouth recommendations.
Q: Should I clear my phone before sending it for repair?
A: Clearing your phone before repair protects your personal data and allows technicians to work on a clean system, which can help streamline the repair process and avoid unintended data issues.