

Ever wonder if a weekend project can help your home feel a bit more inviting? It turns out you don’t need a huge budget to create a cozy space. A few small changes can refresh tired decor and add some charm without breaking the bank.
DIY projects not only boost comfort, they bring a touch of style too. These simple ideas are easy to try and can make a big difference. Whether you’re just starting out or already a seasoned DIYer, a couple of smart updates can turn your home into a warm, welcoming retreat.
DIY home essentials projects Boost Cozy Living
DIY home projects are all about blending practicality with style while keeping things affordable and fun. These ideas are perfect for anyone looking to refresh their space without spending a fortune. Whether you’re just starting out or already a pro, you can tackle these upgrades in a weekend, all designed to make your home feel cozier and more vibrant.
You can choose from projects like quick weekend furniture fixes that turn tired pieces into statement items, fun painting jobs that add a burst of color, smart storage ideas that cut down on clutter, slight repairs to help your home stay in tip-top shape, and creative decor crafts that give every room a unique vibe. Imagine giving an old mirror frame a new look with some spray paint, or rearranging your furniture to create a festive atmosphere. Even a bit of deep cleaning paired with a fresh coat on an accent wall can completely transform your space.
What’s great about these projects is that they bring fast results without a steep price tag. Many of these ideas, like refreshing a mirror or sprucing up your walls, can be done in just one day or over a weekend. Next up, we’ve got step-by-step guides to help you plan, execute, and finish each project perfectly. Get ready to discover ways to make your home more welcoming with easy, budget-friendly projects!
Planning and Budgeting for Your DIY Home Essentials Projects

Start by figuring out exactly what you want to do and setting a clear spending limit. Think about the little upgrades that can warm up your space, like a wine wall for under $275 or a cabinet paint kit for around $30. Knowing your goal makes it easier to sort out tasks and manage your budget.
When looking at costs, check out real-life examples that show how small changes can go a long way. You might refresh tired curtain rods with Rub ’N Buff to give them a warm, gold glow, or even make a bathtub tray from scrap wood that adds both style and function. And if you need a quick fix, a tile-stenciling kit can breathe new life into old flooring.
Plan your weekend projects by breaking them into a couple of days to keep things relaxed. Focus on buying good-quality materials first because they really make a difference. One day can be all about cleaning and setting things up, while the next day is perfect for putting it all together.
Keep an eye out for reclaimed materials at online marketplaces or local salvage yards. This not only saves money but also gives your projects a unique, personal touch.
Step-by-Step Guides for Essential DIY Home Repairs and Upgrades
Build a Bathtub Tray
Start by cutting a piece of 1×4 lumber to 30 inches by 8 inches. Lay the pieces out so they form a snug tray, then use wood glue and nails to hold the sides in place. Sand the whole tray with fine-grit sandpaper until it feels smooth to the touch. Finally, coat it with a water-resistant sealant to fend off moisture. Remember, sanding gently helps avoid rough spots that might catch cleaning cloths.
Create Abstract Canvas Art
Gather your supplies, a blank canvas, three acrylic paint colors that go well together, and a few brushes. Begin with a base coat over the entire canvas and let it dry fully. Then, add broad, lively strokes of the layered colors, and finish by dabbing lighter hues in smaller sections to build texture. This approach gives you art that’s both personal and full of life.
Apply Rub 'N Buff Finish
First, make sure your metal curtain rods are free of dust and grease by cleaning them well. Apply a thin, even layer of Rub 'N Buff over the surface. Next, use a soft cloth to buff the finish gently until you see a subtle gold sheen appear. Allow 24 hours for the finish to cure, and remember, a light touch while buffing helps protect the rods from scratches.
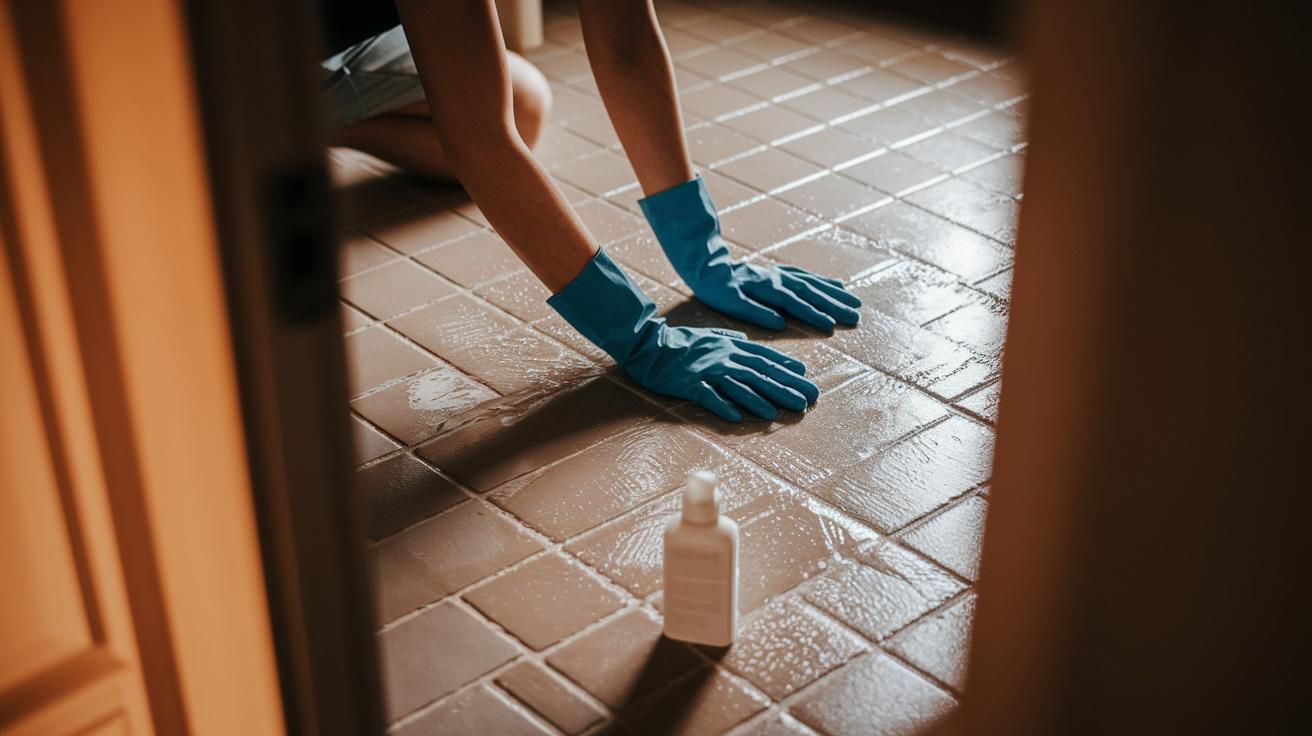
Refresh Bathroom Tile
Begin by giving your bathroom tiles a deep clean to remove any buildup. Next, apply a layer of primer evenly and let it dry completely. Carefully position a stencil over the tiles, paint over it, and then add a clear coat of sealant. Taking your time with each step ensures you get a consistently refreshed look.
Assemble Acrylic Dry-Erase Board
Pick a sturdy picture frame that fits perfectly on your wall. Slide a piece of clear plexiglass into the frame to serve as your writing surface, then attach a backing board to keep everything secure. Mount the frame firmly on the wall, and you’re ready to use your new command center.
| Project | Estimated Time | Estimated Cost |
|---|---|---|
| Bathtub Tray | 2 hrs | $20 |
| Canvas Art | 1 hr | $15 |
| Rub ‘N Buff Finish | 30 min | $8 |
| Tile Refresh | 3 hrs | $25 |
| Dry-Erase Board | 1.5 hrs | $12 |
Creative Decor Projects and Furniture Repurposing with DIY Home Essentials

Looking to freshen up your home without spending a fortune? Explore these budget-friendly ideas that bring character to any space, whether you're reviving an old mirror or turning a plain wall into a standout feature. Let your creativity run wild with these DIY home decor projects!
Mirror Makeover with Spray Paint
Give your tired mirror a cool new vibe. Start by gathering a few essentials like spray primer and enamel paint. First, clean your wood-framed mirror thoroughly to get rid of dust and grease. Then, spray a light coat of primer to help the enamel stick. Once it dries, apply the enamel paint in thin, even layers, using smooth, sweeping motions for a sleek finish.
Accent Wall Assembly
Turn a plain wall into a bold focal point effortlessly. Pick out a color that fits your style and use painter’s tape along the edges to create clean lines. Apply the paint with a roller for smooth coverage, and finish up any spots with a brush. Let it dry completely before peeling off the tape, and enjoy your refreshed accent wall that truly pops.
Gallery Wall Installation
Create a personal photo gallery that tells your story. Begin by laying out paper templates on the wall to plan where your photos and artwork should go. Once you’re happy with the setup, install picture-rail hooks at even intervals, using a level as your guide. Hang your pieces, adjust as needed, and soon you’ll have a gallery wall that feels just right.
DIY Instagram Coasters
Make your everyday coasters a little more stylish and personal. Choose a resin kit and prepare your favorite photos for transfer. Mix the resin as directed, pour it into coaster molds, and carefully add your photo. After letting the resin fully cure, you’ll have a set of chic coasters that are both practical and eye-catching.
Storage Solution Methods for Organized DIY Home Essentials
If you have a tiny nook, a well-designed shelf can really turn things around. Try customizing your shelves with adjustable brackets to perfectly fit your space. Use materials like reclaimed wood or affordable laminates to build shelves that store your items and add a warm, personal touch. Picture a slim shelf set up in a narrow hallway, your essentials are visible and neatly arranged.
Organizing your closet can be simple and fun with a few smart tweaks. Shelf dividers can keep piles of clothes from tumbling, while slide-out bins make it easy to grab your favorite accessories. And don’t forget over-the-door racks; they're perfect for stashing shoes or scarves. These small changes can make your closet look inviting and well-organized.
Creating a central command area in your home is a great way to stay on top of daily tasks. Use cork panels to pin keys, notes, and small tools that you use every day. You might even add a chalkboard for reminders or a handy mail slot. This little hub can help you keep track of everything without any extra fuss.
Even your garage can get a fresh look. Consider using ceiling hooks for those bulky items, modular bins for smaller tools, and shadow boards that show exactly where each tool belongs. These ideas not only clear up floor space but also make any project feel a lot less stressful.
Quick Fixes, Safety Upgrade Methods, and Cost-Saving Repair Strategies in DIY Home Essentials
Before you seal your tiles and grout, give them a hearty clean. Scrub off any stubborn residue and allow everything to dry completely. After that, apply a sealer to protect surfaces like marble or porcelain. A penetrating sealer usually does the trick, and letting each layer dry fully really boosts long-term durability.
When choosing tools for your project, try using hand tools instead of power saws. Power tools can be riskier and might lead to injuries. It might take a little more time, but the extra caution keeps you safe, especially during projects that need precise cuts and accurate measurements.
For sealing tiles, follow a step-by-step method. Start by cleaning the area really well, then spread the sealer evenly. One bottle typically covers around 200 square feet, so keep that in mind. Make sure you let the sealer dry completely between coats, this helps you avoid smudges and gives you a smooth finish that lasts.
You can also save some cash by repurposing old wood for things like shelf brackets or trim repairs. Instead of buying new materials, use scrap lumber from earlier projects. And don't forget, reusable drop cloths are a smart choice to protect your floors during messy repairs.
Final Words
In the action, we've sketched out how to tackle DIY home essentials projects with clear plans and cost-smart ideas. You saw step-by-step guides for quick repairs and funky decor that make home improvement feel fun and accessible.
We've broken down budget tips, creative fixes, and simple storage tricks to keep the process smooth. Every tip here is meant to boost your confidence and turn ideas into real results, making your DIY home essentials projects both rewarding and stress-free.
FAQ
What are some simple DIY home essentials projects?
Simple DIY home essentials projects include basic home upgrades like repainting accents or assembling functional decor, providing approachable, cost-effective ideas that boost your space.
What DIY projects work well for both kids and adults?
DIY projects suitable for both kids and adults offer engaging ways to upgrade your home while teaching practical skills, from crafting decor items to simple furniture improvements.
What DIY home projects are ideal for beginners and students?
DIY home projects for beginners and students feature step-by-step guides for easy repairs and creative crafts, making them perfect for learning new skills in a fun, hands-on way.
What are some budget-friendly DIY home projects?
Budget-friendly DIY home projects focus on low-cost upgrades and repurposing everyday items into useful home decor, allowing you to refresh your space without overspending.